
Thanksgiving Grateful Paper “ Fortune Cookies”
Supplies:
4 inch circles of scrapbook paper
Small paper strips with messages written on them (Grateful statements, home made fortunes, jokes, etc.)
These paper fortune cookies are easy to make. Have your kids write “fortunes” to be opened at the Thanksgiving dinner table. They can write fortunes or better yet, things they are grateful for. These can be placed strategically for a specific family member (like a name card) or can be randomly placed in a large bowl for family members to choose from.
To assemble the “cookies”:
Place the fortune on back side of the cookie paper.
Pinch paper in half with wrong sides together. Hold pinch with your left hand. With your right hand put your thumb and middle finger on the edges of the fold. Push gently with your index finger in the middle, while pulling gently with your thumb and middle finger until paper bends into fortune cookie shape. Your left hand pinch can help guide the shape. Add a dot of Aleene’s Fast Grab Tacky Glue and hold in place for a minute until glue is secure.
These can make fun Valentine’s, wedding favors, birthday favors and more!
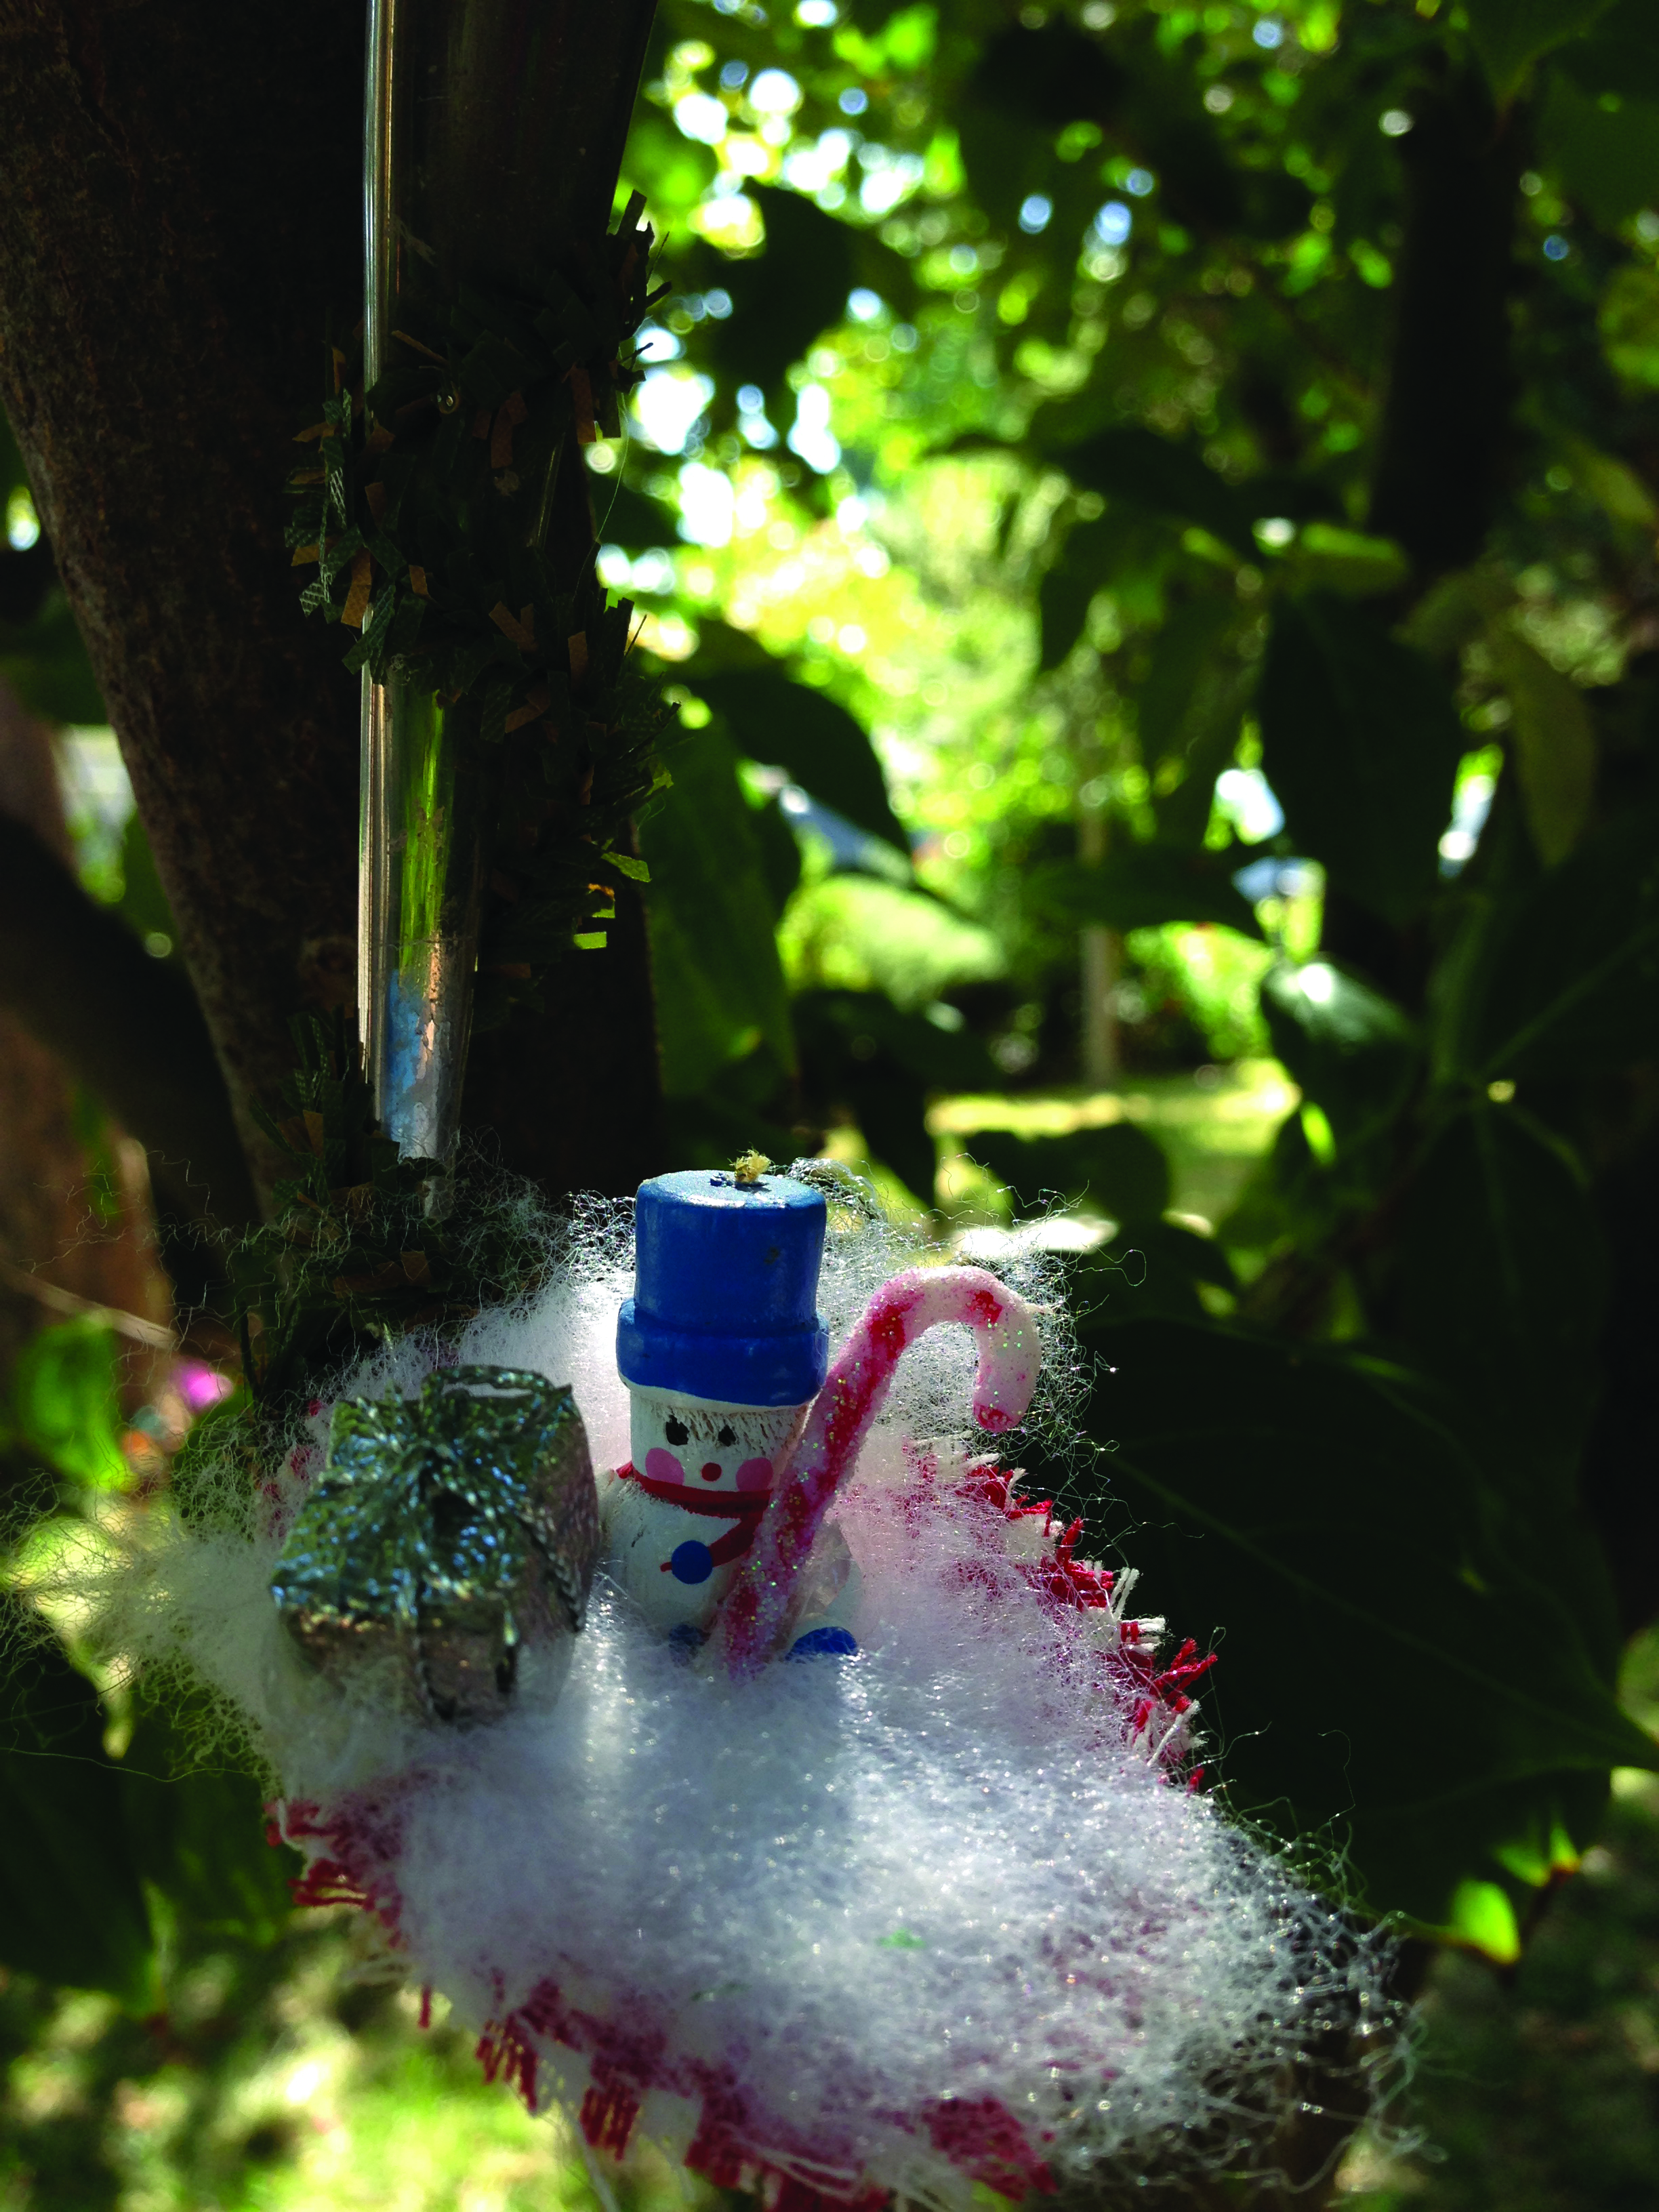
Christmas Spoon Ornament
The first time I made this ornament I was a 7 year old girl in Girl Scouts. Since then, I have made them with my students many times, and it is a favorite!
Supplies:
Spoon (thrift shops)
Fabric
Cotton ball or stuffing
Aleene’s Fast Grab Tacky Glue and/or hot glue
Scissors (or Pinking Shears)
Christmas embellishments
Pipe cleaners
Drill
Have a parent drill a hole in the top of the spoon. Cut a small piece of fabric in oval shape a bit larger than the spoon base. Glue fabric onto the spoon base. Glue some stuffing on top of the fabric to be the snow. Next, glue the embellishments in place creating a holiday scene (hot glue tends to work best for this). Lastly, wrap the handle with your choice of pipe cleaner. Tie a ribbon through the hole so you can hang your ornament. I like to have the kids sign and date the ornament on the bottom of the spoon.
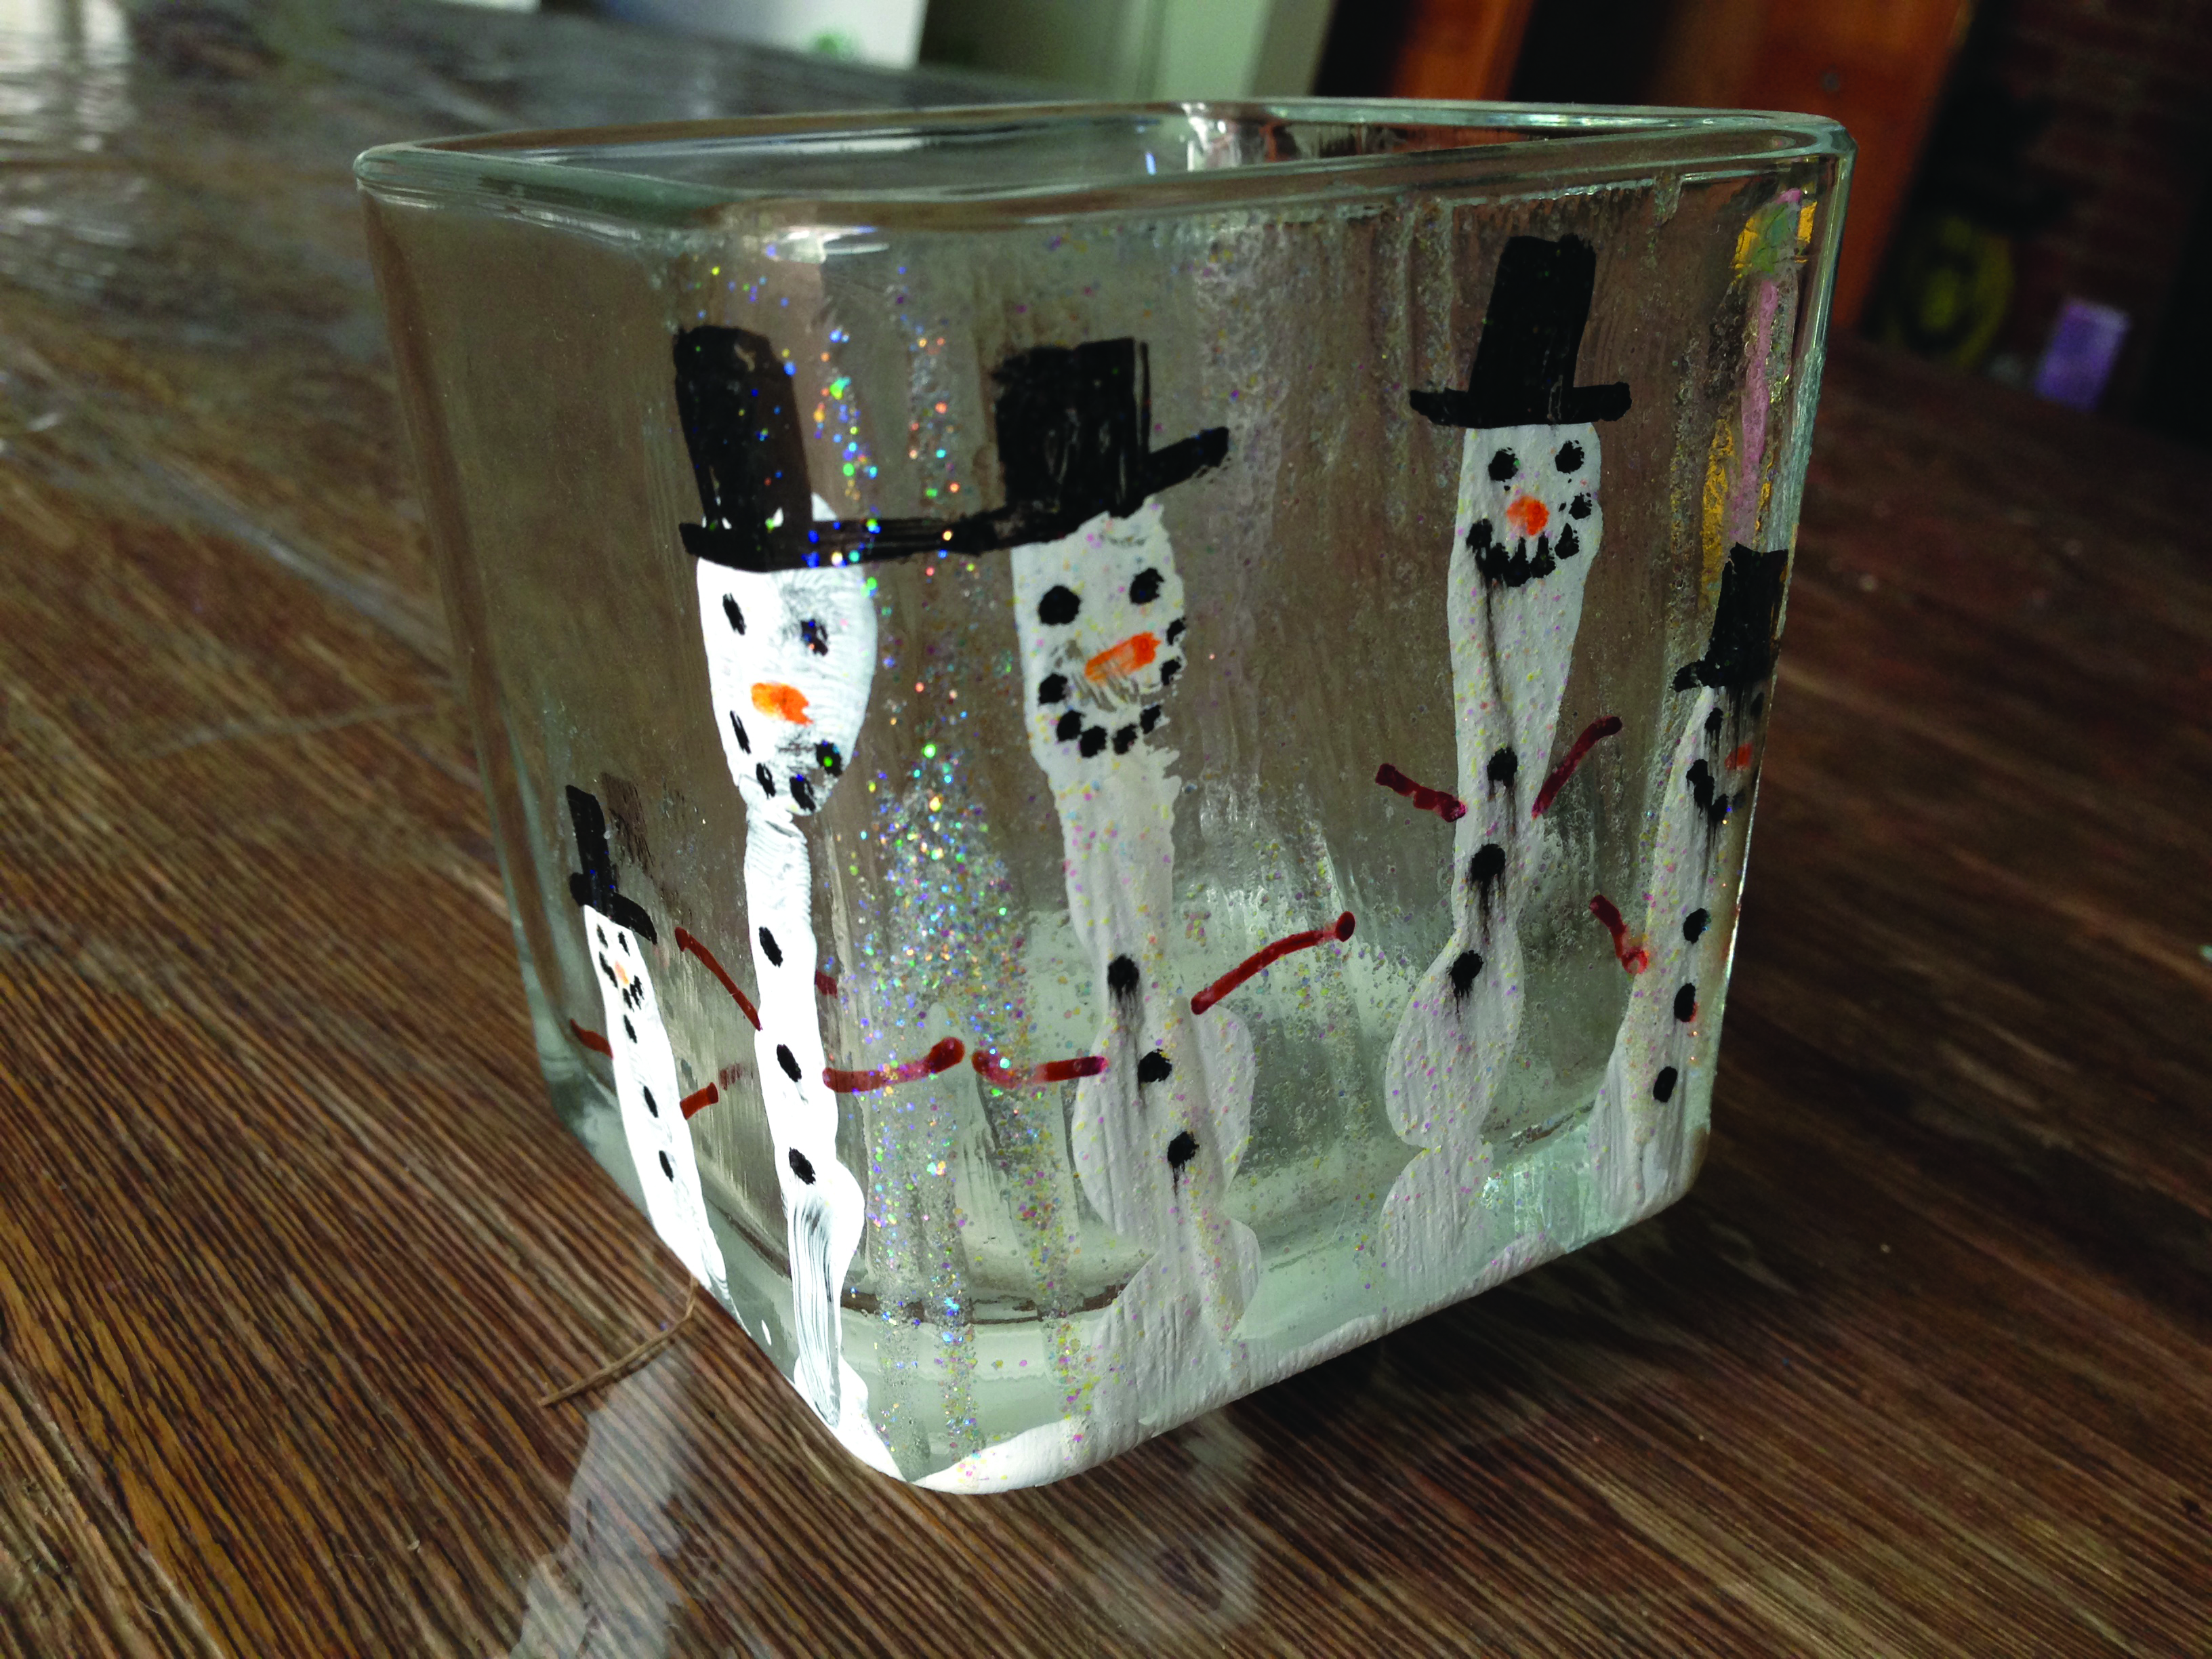
Hand Print Snowman Family Candle Votive
Supplies:
Candle votive (I found mine at the dollar store)
White craft paint
Sharpie Paint pens (black, orange, brown)
Mod Podge (I used glittered Mod Podge)
Foam brush
Candle
Paint your child’s hand with a generous layer of white craft paint from finger tip to palm. Press child’s hand onto votive starting with the palm on the bottom of the votive and fold finders over one at a time creating each snowman. Be sure to have the knuckle portion of the palm show on the front of the votive, forming the snow banks below the snowman. Wash hands and brush and let the paint dry. Embellish the snowman family with paint pens (hats, arms, buttons and facial features). When the pens are dry, use the dry foam brush to paint over the snowmen (and all fours sides of the votive for uniformity) with Mod Podge. It will go on white, but will dry clear. Once it has dried have a parent light a candle and place inside. Enjoy! Sign and date the bottom.
Craft Submitted By: Bare Feet Creations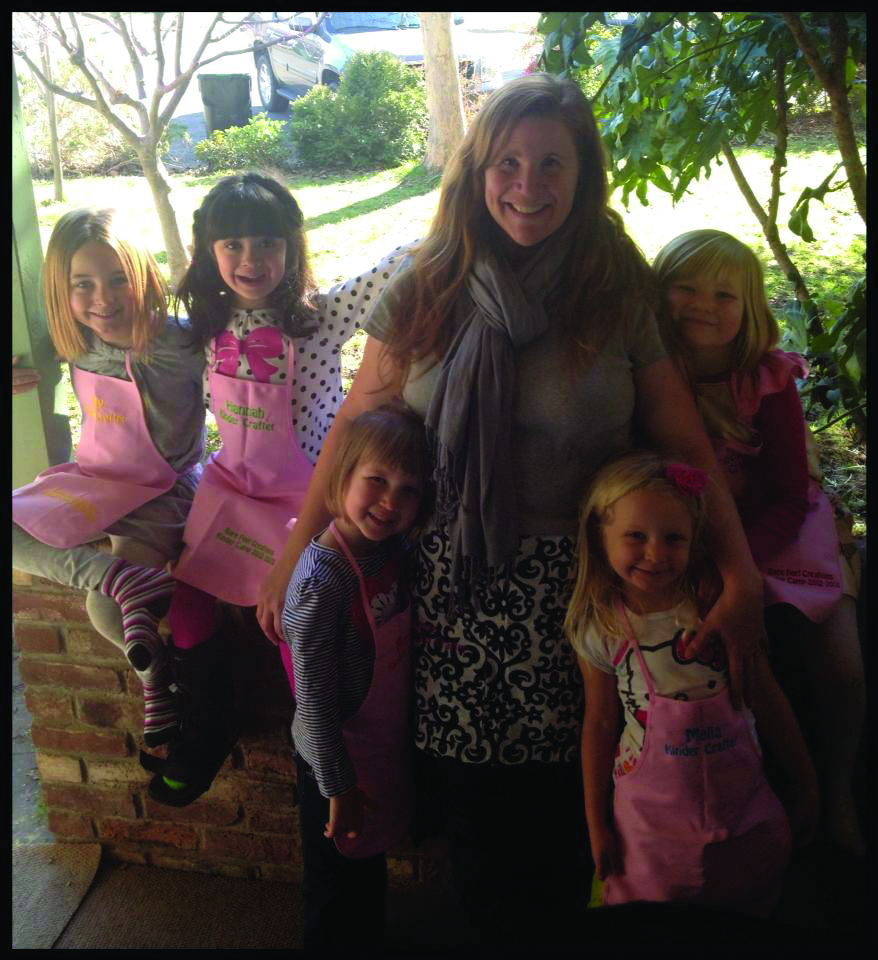
LICENSE # 045405857
Chrissie Weston, Owner
Creationsbarefeet@gmail.com
Bare Feet Creations is a state licensed day care. Rather than daycare, kids come for enriching two hour “camps.” Each camp is limited to only 8 children. Chrissie teaches kids art, crafts, sewing and baking during her monthly camps September-May. Summer camps are offered during June-August. Visit “Bare Feet Creations” Face Book page to learn more and sign up.